Humidifier Gastly 3D STL: Full 3D Printing & Assembly Tutorial
Introduction
Bring your favorite Ghost-type Pokémon to life with a unique 3D printing project!
In this guide, you’ll learn how to download, 3D print, and assemble the Gastly 3D Humidifier STL file a functional and decorative Pokémon figure that produces real mist with LED lighting effects. Whether for your desk, gaming setup, or as part of a Pokémon collection, this project combines creativity, nostalgia, and practical design in one unforgettable piece.
Materials Needed
- Humidifier Gastly 3D STL file (download on Cults3D)
- FDM 3D printer (0.4 mm nozzle recommended)
- PLA filament: purple/violet, black, white, red
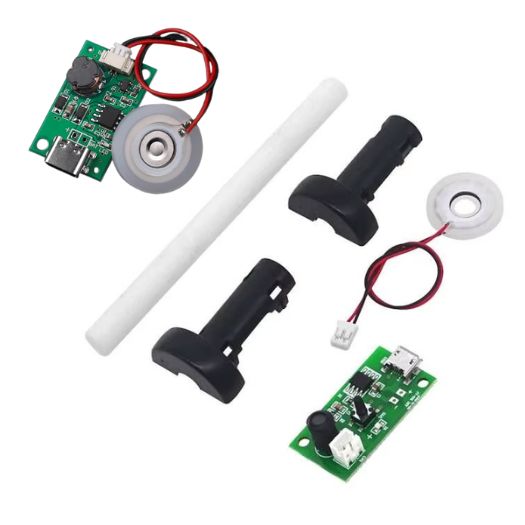
- Mini ultrasonic humidifier module (USB powered)
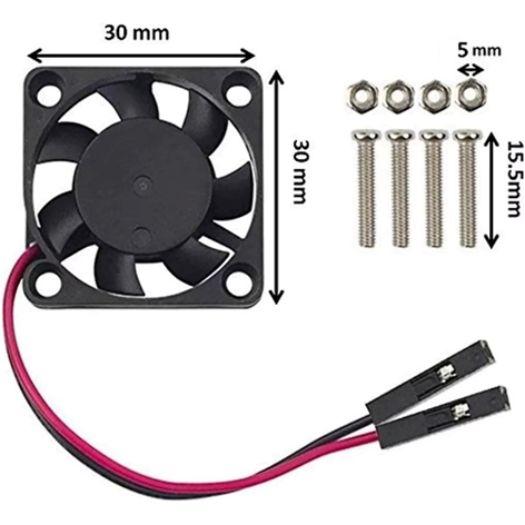
- 5 V mini fan (optional for extra mist flow)
- M3 screws (various lengths)
- USB cable for power
- Small screwdriver, glue (if desired)
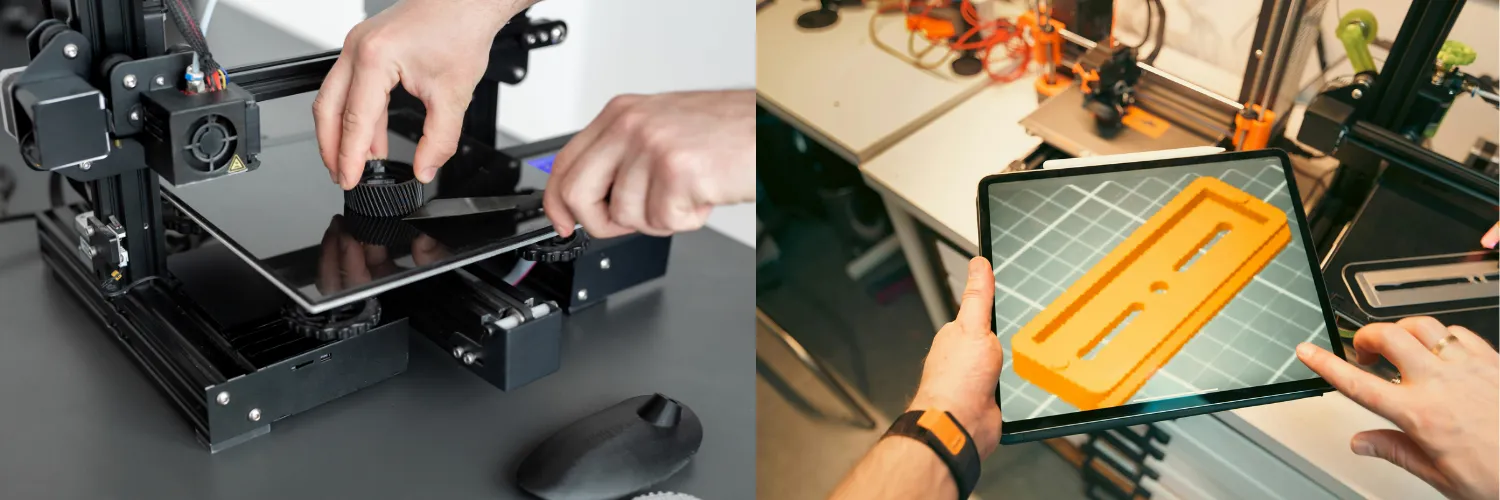
STL Download
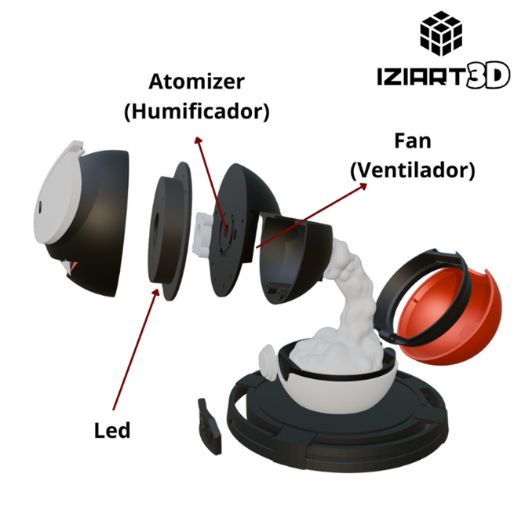
The Gastly 3D printable humidifier STL file is divided into parts that can be easily assembled with 3mm screws. Each piece is color-coded for 3D printing to minimize filament waste and achieve a high-quality finish. Download my optimized Gastly humidifier STL on Cults3D, which includes a step-by-step PDF assembly guide and direct purchase links for all required components. You can also find the free 3D printable version on Makerworld through the provided link.
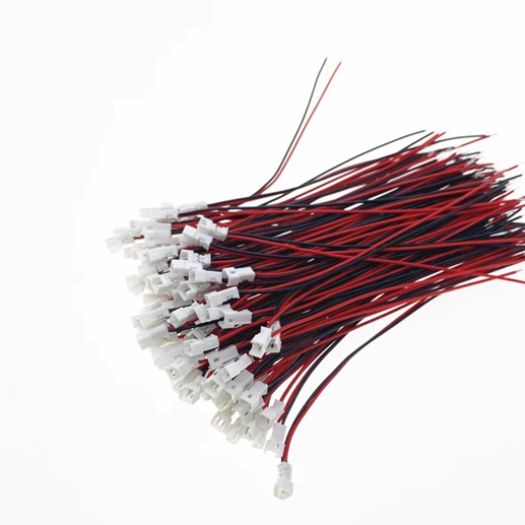
Electronic Assembly
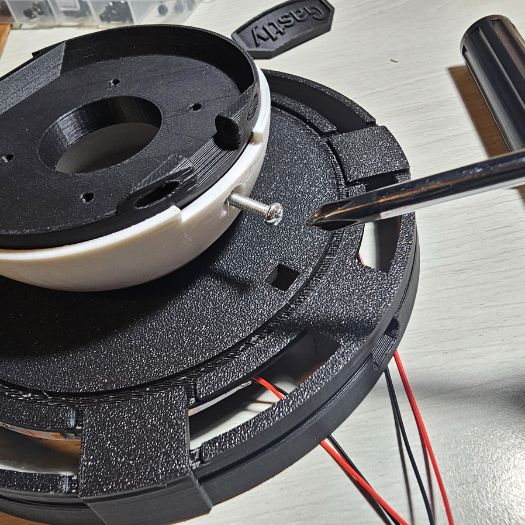
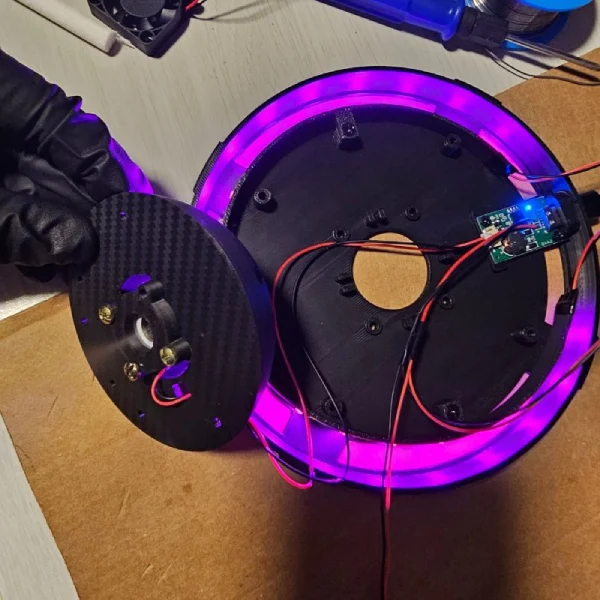
- Base and cable management: The Gastly 3D printable humidifier STL design features an internal channel system to neatly hide the fan and module wires.
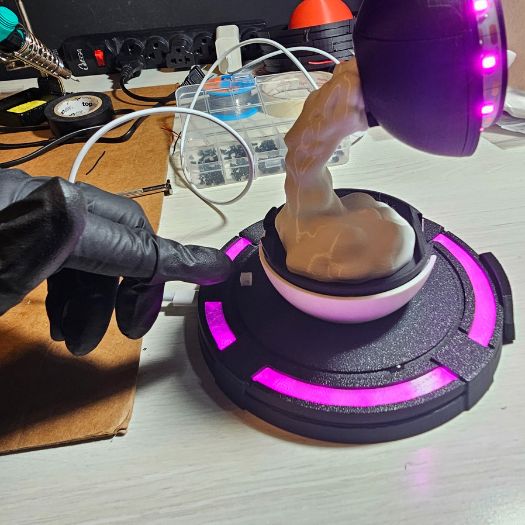
- Humidifier module installation: Insert the ultrasonic device into its internal mount, ensuring proper ventilation for safe operation.
- M3 screw placement: Most joints are designed for standard M3 screws, eliminating the need for glue.
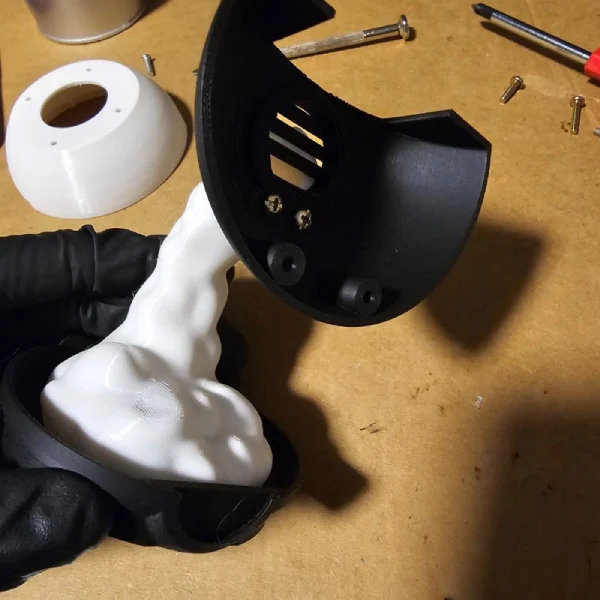
- Final assembly: Attach the printed parts (body, smoke, eyes) by following the detailed step-by-step tutorial included in the download files
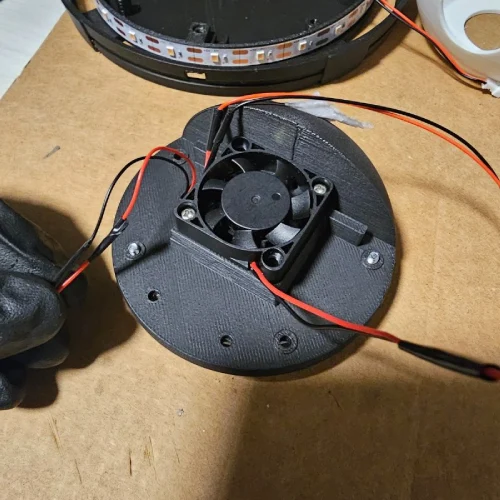
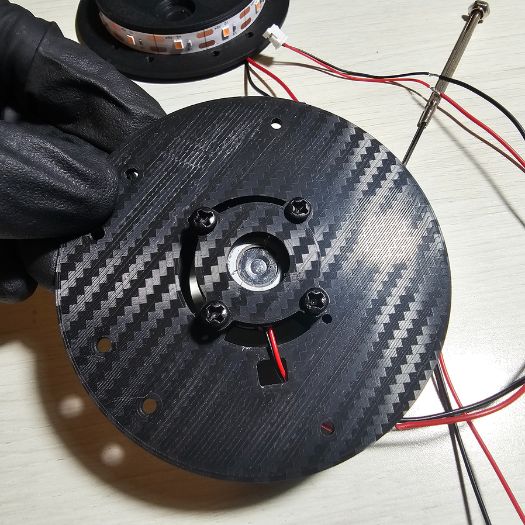
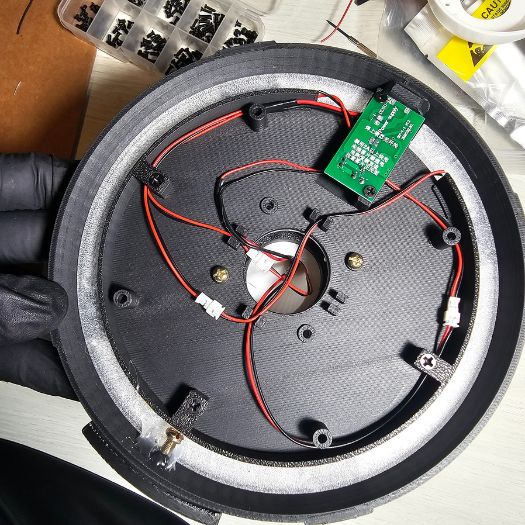
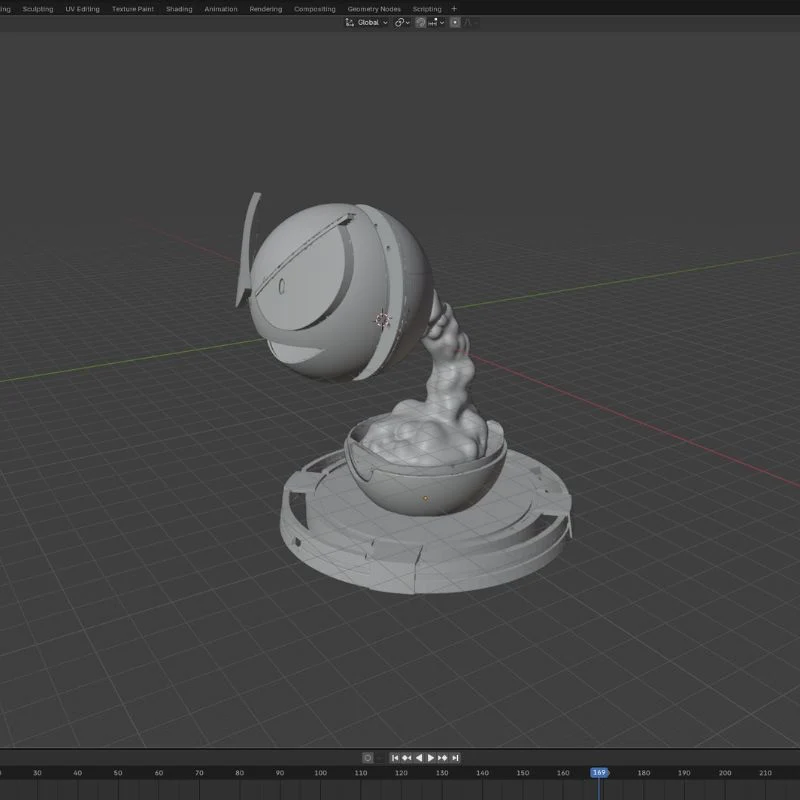
Figure assembly
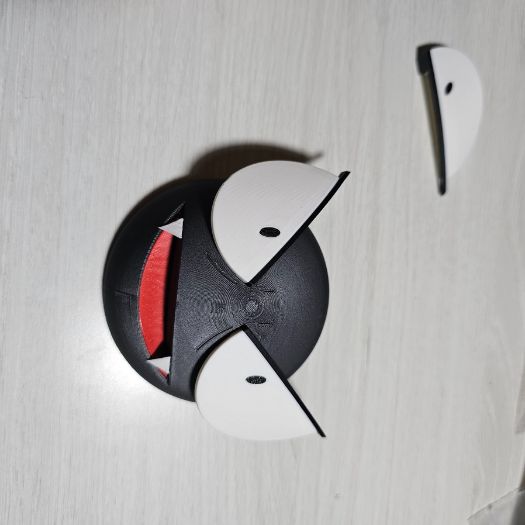
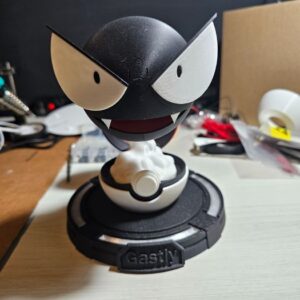
Each part of the Gastly (eyes, body, smoke, and base) is carefully assembled. The design is optimized to fit seamlessly without the need for complex post-processing.
Testing and Trials:
- Final assembly: Join the printed parts (body, smoke, eyes) by following the detailed step-by-step tutorial included in the download files.
- Base and cable management: The Gastly 3D printable humidifier STL design includes an internal channel system to hide the fan and module wires neatly.
- Humidifier module installation: Insert the ultrasonic device into its internal mount, ensuring proper ventilation. Connect it securely before proceeding with the next steps.
- M3 screw placement: Most joints are designed for standard M3 screws, eliminating the need for glue and making assembly easier.
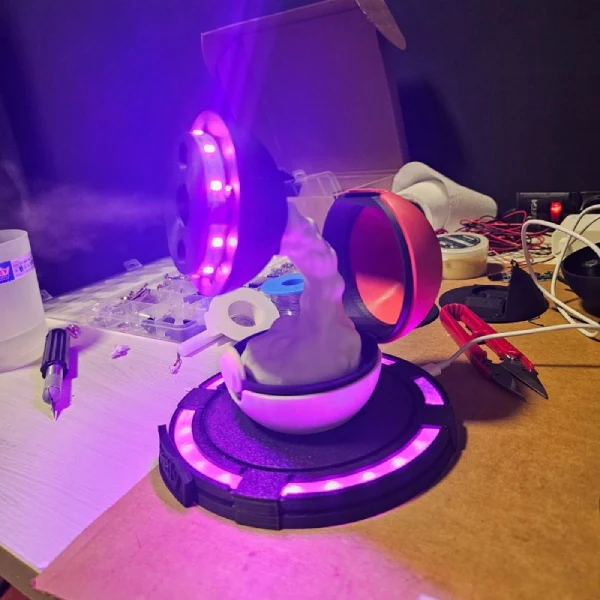
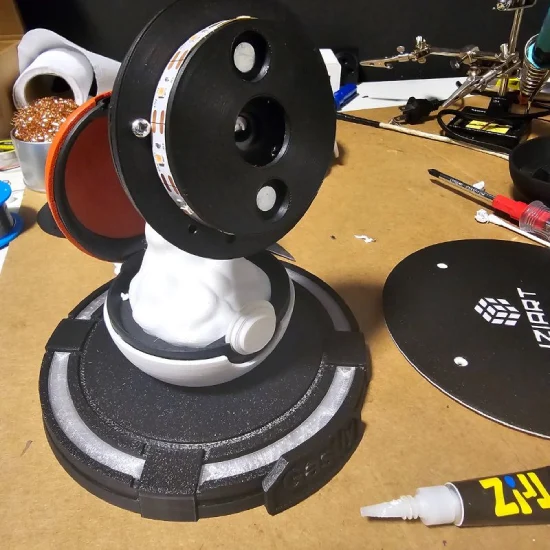
Final Product
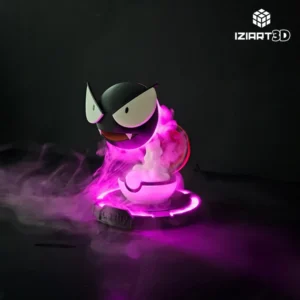
The result is a 3D Gastly Humidifier that combines art, functionality, and nostalgia. Turning it on feels like watching Gastly come to life with smoke and light, creating a unique centerpiece that stands out anywhere.
- Easily powered via USB cable.
- Produces realistic smoke, just like the original character.
- Features a built-in button to control the humidifier.
- Filament-saving design: each part can be printed separately (except for the eye brows).»